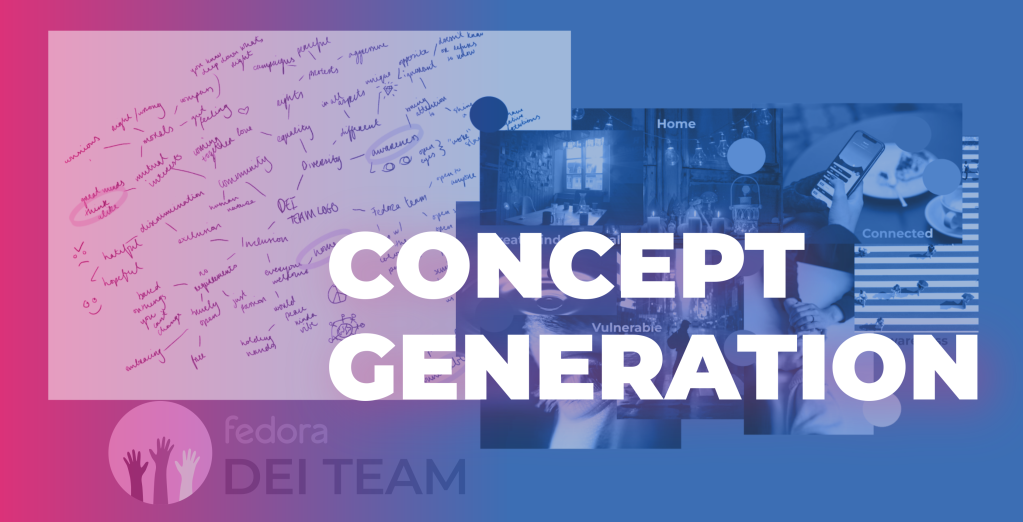
Introduction
When it comes to designing something, I would like to think I have a good system for coming up with ideas and concepts for any project I am faced with. It’s a system I have been using since college, and I believe it’s a great tool for when you are experiencing a creative block, or just want a more structured work flow.
Once you have your brief or whatever it is that you are working on in front of you, you should pick out the keywords. For an example / demonstration, I am going to use this ticket.
Phenomenon
We are looking for a standard logo for DEI team.
Reason
Need standard DEI logo dedicated for general team use.
Step 1: Mind Map
I start with taking out a piece of paper, or a drawing tablet if you prefer, and start jotting down a brainstorm / spider map. Start with the keywords ‘DEI team’, and work out the way. What words do you associate with it? Write them down, and then start asking yourself what words do you associate with the associated words. Keep going until the page is filled with different words / phrases. You can add in quick sketches too, whatever you can to make you think of more things. Your page should look something like (or nothing like) this at the end of the exercise:

Mind map
Step 2: Mood Board
From this mind map, pick out a few words or phrases that stick out to you, or ones that might be interesting when compared to the brief.

Mind map with keywords circled
Open up Inkscape or Krita on your computer and open a new document. Place the chosen words onto the page whatever way you like.

Inkscape document with keywords placed randomly
From here, browse a picture sharing website, preferable Pinterest, Unsplash, or something similar. Google images aren’t great for this. On these sites, search for pictures that relate to your words. You can type it in and see what comes up, or type in related words. Select pictures you think work well or that look interesting.
Once you have a few pictures collected, drop them into the document you opened earlier with your words / phrases. You can play around with the placement a bit, although it isn’t that important.

Mood board
Sketch over the page, either using your drawing tablet or print it out and use a pen. Highlight interesting colours / shapes pulled from the pictures. This mood board is going to be the basis for your project. This represents the feel and energy you’ll want the design to give. Here’s an example of my finished mood board. It’s okay if it’s messy, this is just for yourself to get ideas from.

Transparent mood board with writing overlaid
Step 3: Pulling Concepts
By now, you might have some ideas of where you want to go with your project. That’s great, because now we are going to start pulling ideas together. Start with a blank page / document, depending on whether you are using pen and paper or a drawing tablet. Draw three / four boxes on the page. You are going to put an idea in each of these. It might be hard to think about what goes in them, out that’s okay. Just take your time and trust yourself. I’ll go through my thoughts when pulling ideas from the mood board, so you can get an idea of how it’s done.

Krita document with four blue rectangles
One thing I want to bring over from my mood board is the use of soft light. I think it gives a homely feel that would really work well with what the DEI team stands for: a home for diverse people to come together.

Drawing of a house
Another thing I want to bring over is the soft-ness and tranquillity of the water image. I think it would be great to portray a mindfulness vibe.

Drawing of a sun over water
If I have a preference for a particular concept, I have to be careful not to just flesh out that idea straight away. Don’t limit yourself to just one idea. Try to have a bit of variety in your sketches in case you think of something better, or more suited to the project.
Here’s an idea that I had to squeeze out of the mood board. It’s meant tot represent a person walking in the dark with colourful light around them.

Drawing of a person walking with lights behind them
And then sometimes I like to have a generic option too. This is the shape of the Fedora logo mark, with a heart and glowing lights within it.

Drawing of Fedora logo mark with a rainbow heart inside
Here is the completed page I have with my sketches:

Four drawings
Step 4: Requesting Feedback
Once I have this done, I share with the project stakeholder. In this case, the person who shared the ticket and the DEI team, to see what direction they would like me to go in. You can clean up the document if you wish to make it more presentable, maybe adding a concept name and document title. This is just a personal preference of mine, so don’t feel like you have to do this!

Screenshot of ticket comment
Hopefully the stakeholder won’t take too long to get back to you. Don’t be afraid to ping into the relevant community channel or the issue filer directly if they are not active on the ticket. For this, I pinged the Fedora DEI matrix chat.

Screenshot of message sent to Fedora DEI team’s chat room
When they have chosen a concept they would like you to pursue, it’s time to move onto the next step.
Step 4.5: Don’t Panic!
Sometimes (and this can happen! Don’t worry!), the requestor / stakeholder may not like any of the ideas. Or they might want it to go in another direction. And that’s okay! Here, a stakeholder expressed their wish to have the logo say “we see different people, all together and better for diversity.” and attached some reference pictures.

Screenshot of comment on ticket
If this happens, just go back and repeat the steps above! We are able to skip the mind mapping stage here, as we know what the stakeholder is looking to convey.
I won’t go into documenting the steps again, but I’ll show you my updated mood board and concepts:

Updated mood board

Drawing of three new concepts
Quickly going through the new concepts:
- This was hard to sketch. What I was going for was a heart with hands reaching towards each other, like a hug. But I wanted the arms to be in the shape of the f in the fedora logo, turned on it side, like it was laying flat, and you were viewing it from the side IYGM?
- I took the sun idea and added hands in the different fedora colours on top—making it more human and representing different people. An idea we could pursue would be having the hands be the different fedora mascots’ hands?
- I had fun with this one, and it’s my favourite so far! It’s the silhouettes of all the fedora mascots and have beefy’s hands hugging them all in together. The logo mark could then have a heart in the background to give it more shape if you wish.
Now we wait and see if the stakeholders like these ideas. When they reply that they are happy, it’s time to move onto the next step.
Step 5: Refining Concept
So the stakeholder has picked a sketch to run with! That’s great! Now it’s time to get your rough sketch and refine it a bit, so it will be easier to vectorize. In my case, the stakeholders were stuck between two choices, so I am going to do this process twice to help them pick.
You can draw your sketch again using your tablet or on a piece of paper, however you did it before, and make it more clean. Once you’re happy, it is time to import it into Inkscape. You can set the document up as a standard A4 page and import your sketch.

Inkscape document with drawing
It’s time now to start vectorizing. Take the pen tool and trace your sketch. Use as many paths as you need. We vectorize it to make it cleaner, but to also make it easier to scale up and down if it’s needed for anything in the future.

Vectorized sketch
With the initial vector drawn, it’s time to play around and come up with three or four variations you like and think suit the brief well. Take your time on this and have fun exploring. Here are four different versions I have created for each idea:

Four variations of the hand concept

Four variations of the mascots concept
To export them like this, just arrange each version and add a plain white rectangle behind it. I play around with the alignment tool until they are evenly spaced out. I like to export my images as PNGs, but you can use whatever format you like. Labelling each variation helps with feedback as it’s easier to reference to. I add these images to the ticket and leave a comment for some context if necessary.
Step 6: Final Tweaks and Handover
Once a logo is picked, make sure you complete any tweaks necessary. There could be some back and forth before a final version is agreed upon.
All that’s left to do now is upload the final assets to the ticket and to the team repository if necessary. I like to export the logo in full and as a logo mark (just the icon) in both PNG and SVG format. It’s also good practice to name the files accurately. Once all is uploaded, close the ticket, and you’re done!
Final logo in full and as a logo mark

Assets commented on ticket and closed

Assets uploaded to the relevant repository
Conclusion
Congratulations! Hopefully you have learned something from this and can take some elements to implement into your own workflow. Again, this is just how I do things and there are a million other ways to come up with concepts. Keep trying new things until you find a method that works for you!
