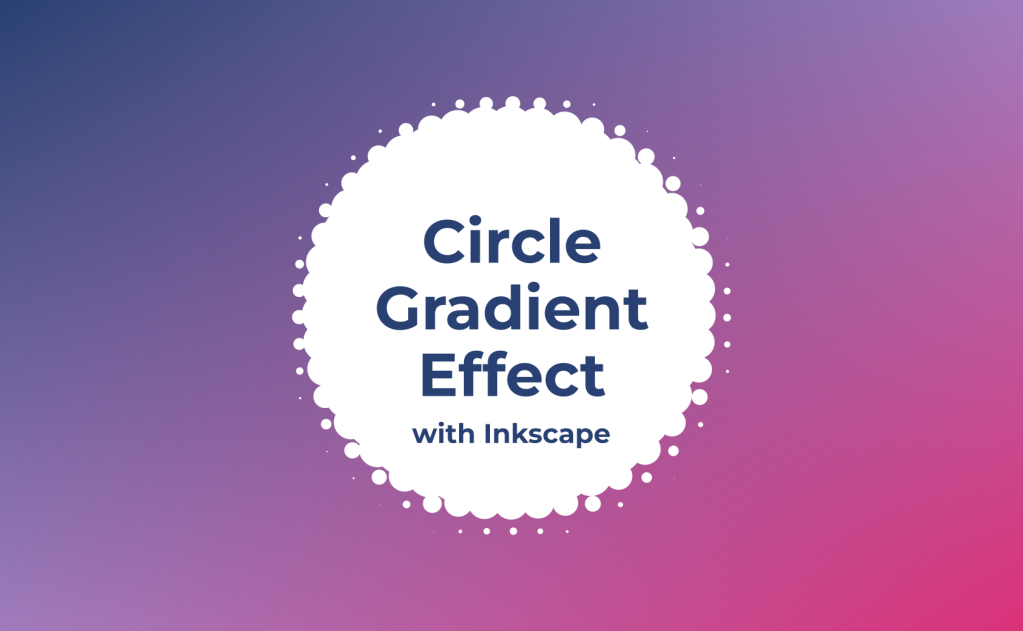
This is a tutorial on how to make a circle gradient effect.
First thing you are going to do is create your gradient object. I am going for a circle.
Now create a smaller circle. This is going to be what the circle-gradient effect will be made out of.
When you have both those steps done, align the smaller circle to the top left corner of the gradient, like below:

With the smaller circle selected, go to Edit > Clone > Create Tiled Clones…

A window will appear. In this window, go to the Trace tab. The only thing you should have to change here is selecting Opacity under option 1.
For the Width, height: option at the end, enter the width and height of the object you are looking to apply this effect to.

With only the smaller circle selected, click Create on the window.

Depending on the look you are going for, you can delete the original gradient.

You can edit the pattern by adjusting the smaller circle.

When you are happy with the result, you can delete the smaller circle. Select the texture and group all the tiles together to make it easier to work with.

And you’re done!

